Dillon Model X Mechanical Force Gauges

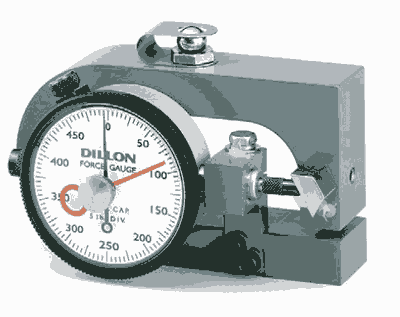
Model X-C with compression calibration
Model X-C comes in nine capacities ranging from 50 lb to 25,000 lb or 50 to 10000 kg. All feature accuracy of ±1% of full capacity, except the 25,000 (10000 kg) capacity instruments which are accurate to ±2% of full capacity. Load is applied against a hardened ball which rotates to maintain vertical alignment as pressure increases. The ball is held in place with a spring clip or retainer. A threaded mounting hole is located opposite the loading ball in the bottom of the beam. Model X-C is available in pound and kilogram capacities. Options: Shockless dial indicator for installations involving the sudden application or release of force. (Maximum pointer cannot be supplied with shockless dial indicator.) Maximum load pointer which remains at peak load until manually reset. (not available on Model X-PP) Zero position on dial may be factory positioned at 12, 3, 6, or 9 o'clock. Standard position is at 12 o'clock.

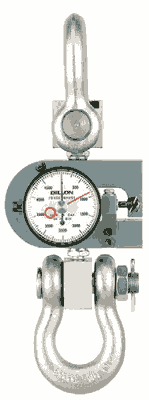
Model X-ST with tension calibration
Dillon offers the Model X-ST in seven capacities from 100 lb to 10,000 lb or 25 kg to 5000 kg. Accuracy is ±1% of full range. (Note: For applications requiring capacities beyond 10,000 lb or 5000 kg in tension, consider the Dillon Dynamometer).
Tension Force Gauges in capacities through 2,000 lb (1000 kg) are supplied with two rod-end connectors. 5,000 and 10,000 lb (5000 kg) capacities are equipped with convenient shackles and pins.
Calibration is available in pounds and kilograms.

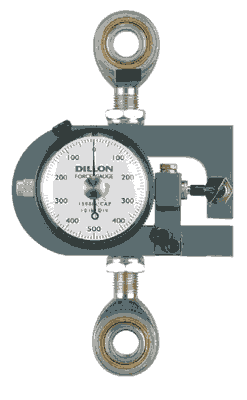
Model X-PP with compression/tension calibration
Force gauges calibrated in push- pull are available in four capacities in pounds ranging from 50-0-50 lb up to and including 2,500-0-2,500 lb and three metric capacities from 50-0-50 to 1000-0-1000 kg. Accuracy is ±2% of maximum dial reading (based upon total capacity of both compression and tension scales).
Model X-PP gauges in capacities up to and including 500-0-500 lb or 250-0-250 kg are supplied with a set of self-aligning spherical rod-end connectors for tension loading. Force is applied to connectors through a hardened steel pin which must be slip fit in connector holes.
2,500-0-2,500 lb and 1000-0-1000 kg capacity gauges are equipped with two shackle adapters, shackles and pins. Shackles must be removed when compression load is involved. Force is then applied against shackle pins in a suitable test setup.
All push-pull gauges are supplied with a compression-loading spherical ball fitting for compression loading.
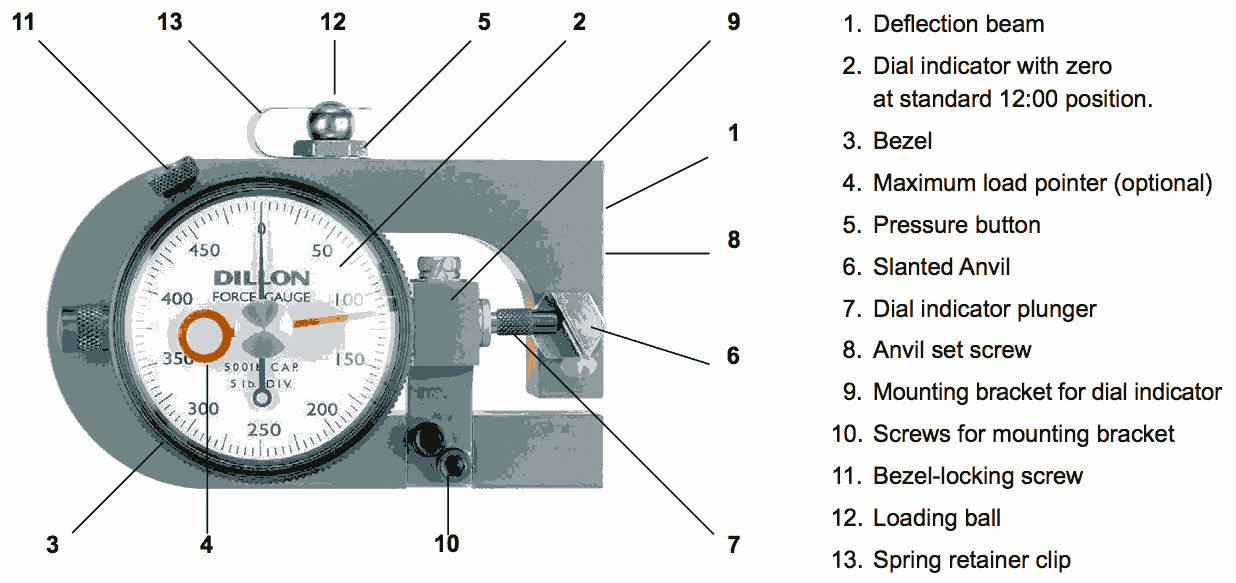
Model X Force-Gauge Parts Identification

Principle of Operation
A D-shaped deflection beam is the heart of the Dillon Force Gauge. Machined to close tolerances, beams are heat treated to develop optimum strength and spring characteristics. High-strength aluminum is used in Model X instruments through 500 lb (200 kg). Ranges above this are fabricated from aircraft-quality alloy steel. Click to view Model X Force Gauges diagrams and charts
Low beam deflection
When measured across the center of top- and bottom-loading holes, the approximate beam deflection is as follows:
| Low Beam Deflection | |
|---|---|
| Capacity | Measurements |
| 50 to 250-lb | (25 to 100 kg) = 0.019” |
| 500-lb | 200 kg) = 0.016” |
| 1,000-lb | (500 kg) = 0.018” |
| 2,000-lb | (1000 kg) = 0.011” |
| 5- and 10,000-lb | (2 and 5000 kg) = 0.010” |
| 25,000-lb | (10,000 kg) = 0.022” |
Overload rating
Accidental overloads up to 30% of capacity can be safely sustained without injury to the dial indicator ir deflection beam. All capacities feature a 5:1 design safety factor.
General Information
- To reset zero, loosen knurled bezel-locking screw and rotate dial.
- Dillon Model X Force Gauges may be mounted horizontally, vertically, or flat.
- The baked-enamel finish resists corrosion and rust.
- Operating temperature up to 120° F.

